Before, progress and completed photographs from residential window work, organized as a clear project sequence.
The three photographs show the condition before work, the opening during the process and the completed exterior result. Window projects require attention to fit, surrounding finish, water management and the transition between the unit and the wall. A small hardware or screen repair is different from a failed frame, broken glass or concealed water damage.
The images are evidence of relevant experience, not a fixed package or a promise that every larger construction scope is currently offered. Westside Handyman Pro focuses on defined repairs and smaller improvements that do not require a contractor license or building permit.
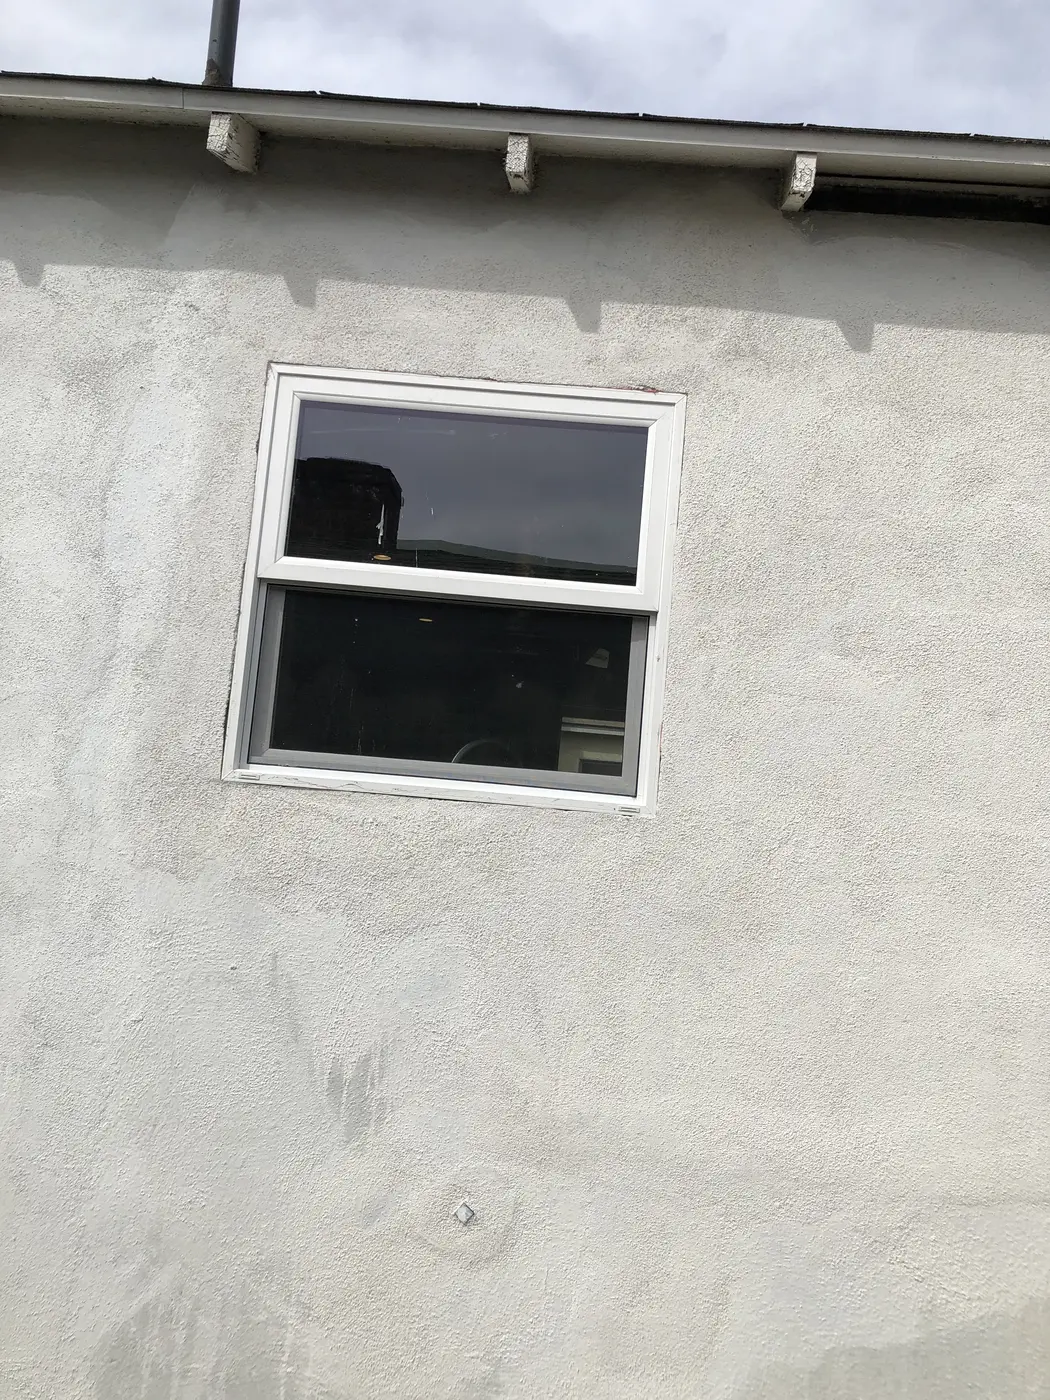
Before choosing a method, the existing material, attachment, movement and nearby finished surfaces need to be understood. Preparation may include protecting floors or landscaping, removing loose material, confirming a stable working surface and identifying parts that must be matched or ordered.
A wide photograph provides context, while close views reveal edges, fasteners, joints and finish damage. Measurements and a short video can be important when a door, gate or window moves incorrectly. This information helps distinguish a defined repair from work that needs a specialist or broader assessment.
If moisture, structural movement, regulated systems or permit requirements are involved, those conditions must be addressed by the appropriate professional before finish work hides the evidence.
A durable repair is built in the correct order. Unstable material is corrected before the finish layer. Compatible fasteners, fillers, sealants and coatings are selected for the surface and exposure. Drying or curing time is respected instead of being treated as optional.
The completed appearance also depends on transitions to the existing property. Color, sheen, texture and age can make a localized repair visible even when it is sound. When an exact match is not realistic, the options should be explained before work proceeds.
The final review checks the defined work, basic operation where applicable and the condition of the surrounding area. Care instructions or remaining limitations are communicated clearly.
Each image on this page is selected for this project category so visitors can understand the relevant condition and workmanship.
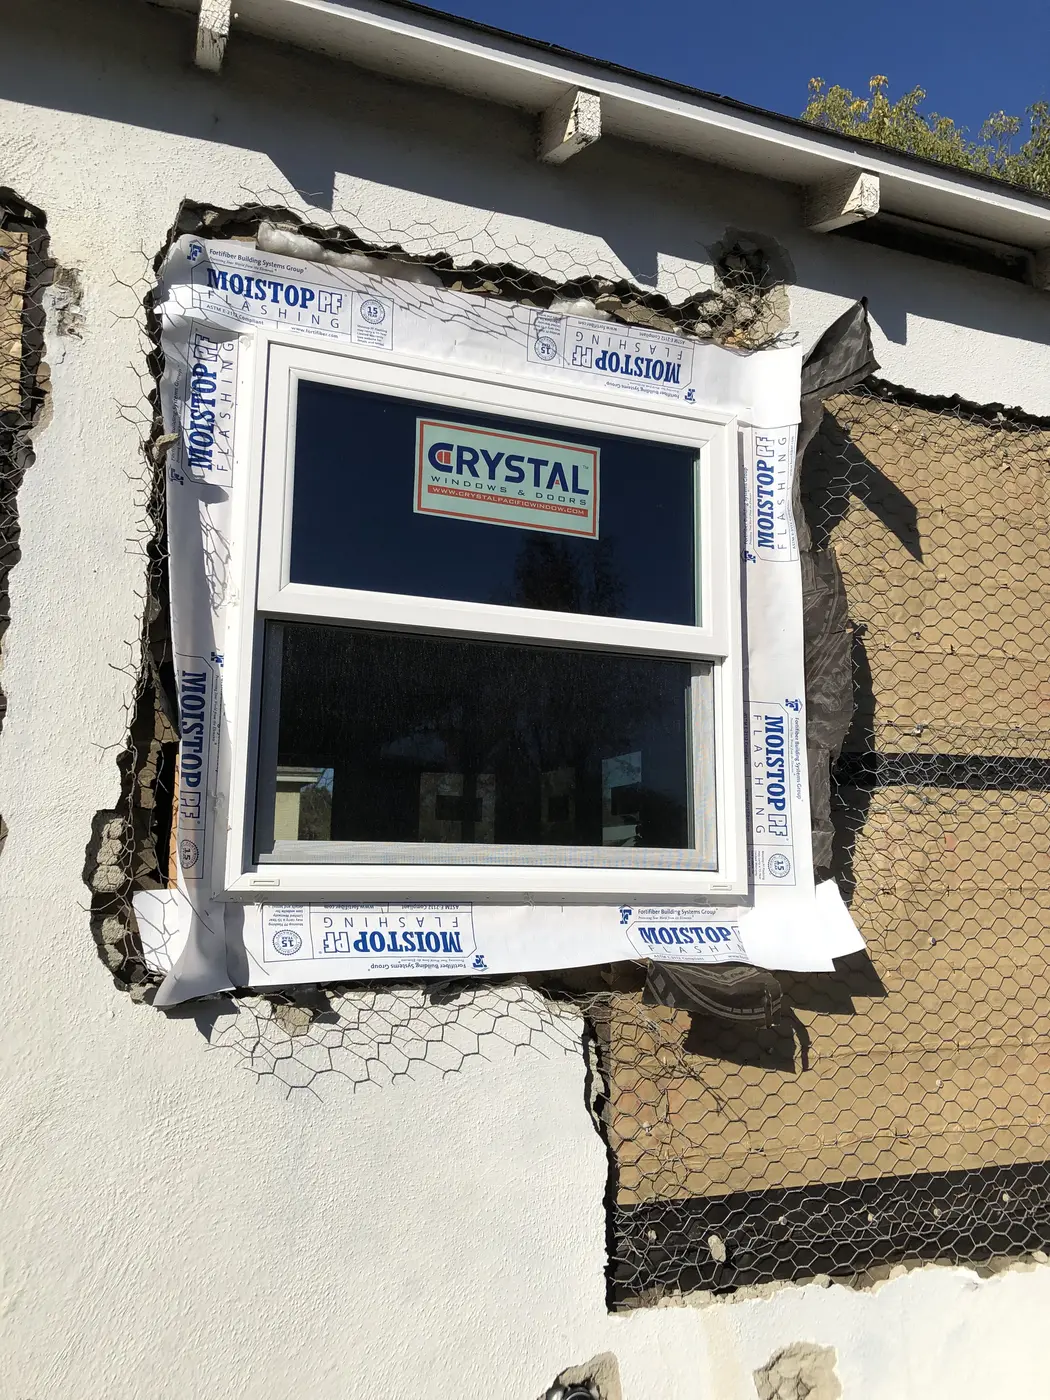
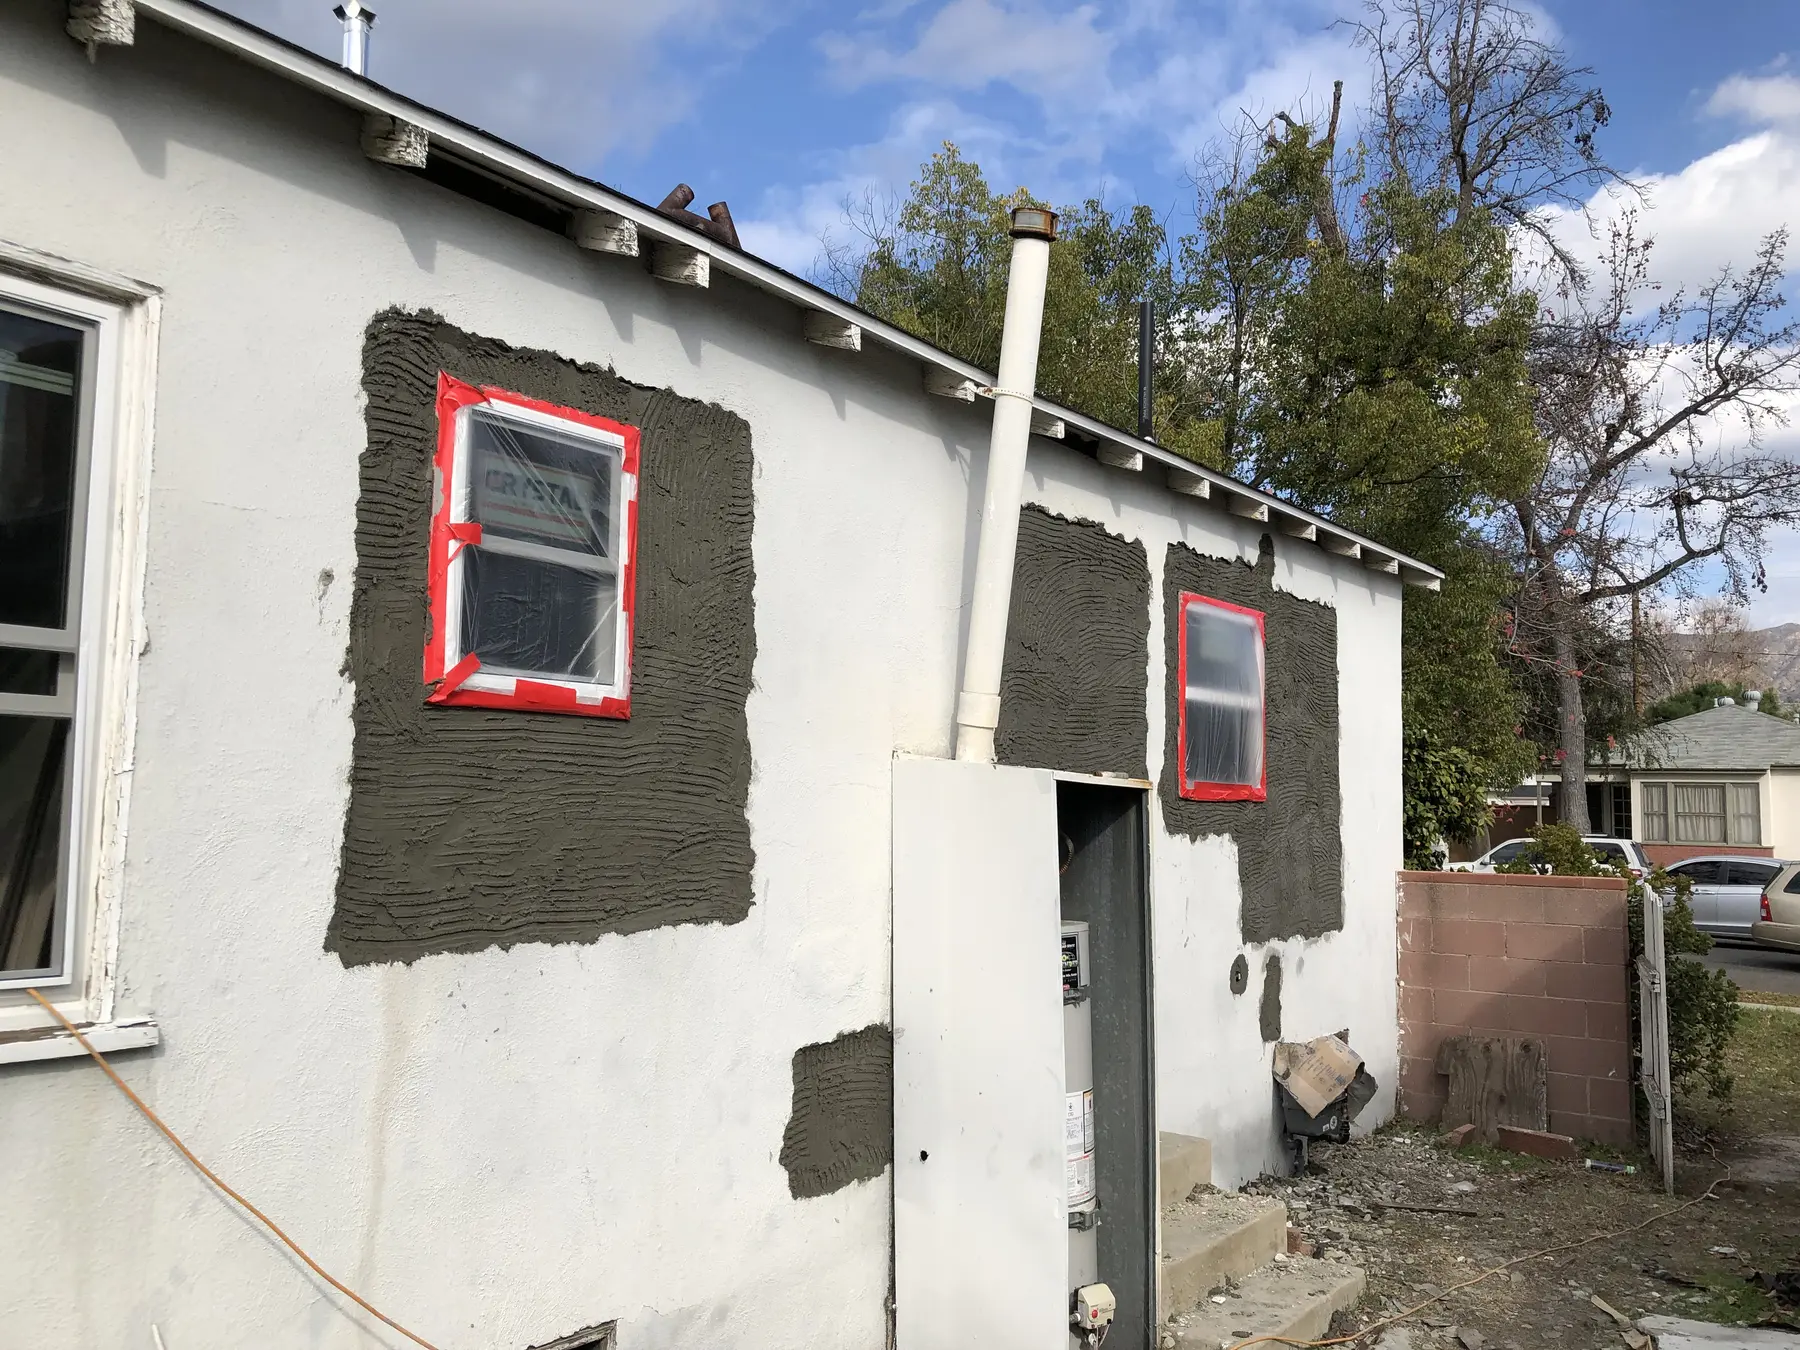
Send the property city, a wide view, close photographs and approximate measurements. Explain when the problem began, whether another repair has been attempted and whether materials have already been purchased. For multiple items, number the list by room or exterior area.
Access, parking, building rules and approved working hours can affect scheduling. Complete information makes it easier to confirm whether the request fits handyman scope and what the practical next step should be.
Clear expectations make a repair visit easier to plan.
Yes. The photographs are selected from Westside Handyman Pro project files and are presented to demonstrate relevant hands-on experience.
No. Every estimate is based on the condition, measurements, access, materials and scope at the property requesting service.
Send the city, one wide photograph, close views of the condition, approximate measurements and a short description of what is not working.